Hitting the ground is among the worst things to happen to a cyclist and his bike. First and foremost, you need to check if YOU are alright — is anything broken, do you have a concussion, etc.
If you are alright after a crash, you should also check the bike to assess whether riding further is safe. A bike can, and in most cases will be, more damaged than you, so ensure it’s safe.
Below is a checklist to help you quickly assess a bike’s condition and prevent further damage as you continue to ride.
You need to check:
- Yourself
- Handlebar
- Front and back tire
- Brakes
- Wheels
- Frame
- Seatpost
- Saddle
- Drivetrain
- Pedals
- Your gear (helmet, shoes, jersey…)
Let’s take a closer look at what to look out for with each part of the bike and what are the signs that it is unsafe and not advisable to continue riding.
Handlebar

What to check:
- Is it aligned properly?
- Is it bent?
- Is it cracked?
- Is it broken?
- Is the brake lever stuck?
Start your bike check at the front, and move towards the rear. The first thing to check is the handlebar and the stem. Damage to them is usually quite visible.
Misaligned handlebar
If you find that the handlebar is out of position, take the Allen wrench and loosen the screws holding the stem on the headset. Loosen them just enough to rotate the stem without moving the front wheel. Realign the handlebar so the stem is aligned with the front wheel, and tighten the screws.
Bend or cracked handlebar
If the handlebar is bent or even cracked after the crash, there’s not much you can do. Your only choices are to ride home or call for help.
A bent or even cracked handlebar usually allows you to ride home safely if the damage is not too severe. Take the shortest way home and ride slowly. At home, discard the handlebar and replace it with a new, undamaged one.
Broken handlebar
I probably don’t need to tell you this, but if you have a broken handlebar, don’t try to continue to ride. It’s dangerous for you and other people around you. A broken handlebar means only one thing — call someone to pick you up as your ride is over. Oh, and you need a new handlebar, obviously.
Wheels
What to check:
- Is the tire punctured?
- Is the wheel true?
- Are the spokes broken?
Whenever you fall due to a collision, whether with a car, a pedestrian, a curb or a pothole, the front wheel is the most vulnerable to damage as it absorbs most of the force.
Punctured tire
Before the force of collision hits the wheel, it must travel through the tire. If the force is high enough, the tire might burst.
You’ll recognize a punctured tire just by looking at it. The front tire will be flat, and you must replace it before continuing the ride.
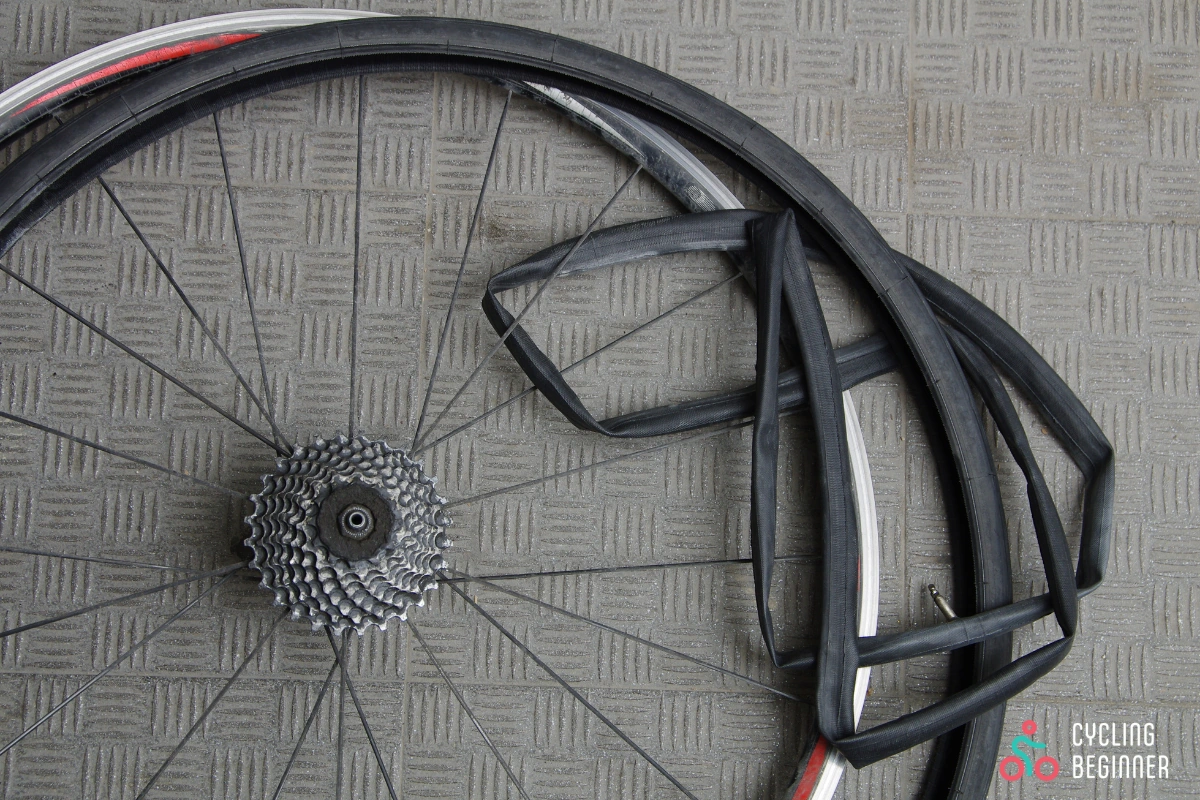
Bent wheel
If the forces are high enough, they can travel through the tire to the wheel, making it bend. You will notice immediately if the front wheel is badly damaged, as it will be completely bent and ‘dance around’ as it rotates.
More common is a slight wheel bend. This is not so obvious, so do your best to detect it in time. Spin the wheel and look at its distance from a fixed point. I recommend brakes or a fork. If the distance changes, the wheel is bent, and you need to true it. You can do it yourself, but you need the right tools.
You can ride home with a slightly bent wheel, but it’s recommended to take the short route home. Continued riding will worsen its condition, and it may become unusable if the fault is not fixed in time.
You may open the brake release to give the bent wheel some extra space. But be careful, as the brakes might perform a bit worse.
Broken spoke
High-impact crashes might even break some bike parts. If the only thing broken is a spoke, you are lucky.
The spokes are responsible for the tension and consequent trueness of the wheel. Any broken spoke will weaken the wheel, but fortunately, not so much that you have to stop riding immediately.
A broken spoke needs to be properly cared for, which you can read more about here. The success of the repair also depends on the number of spokes on the wheel, as more spokes means it is easier to fix it.
Brakes
What to check:
- Is the lever stuck?
- Are the brakes offset?
- Is the disc rotor bent?
Stuck brake lever
In a crash, the brake lever is usually part of the bike that hits the ground the hardest. This can cause it to become stuck, usually by the cable and cable housing slipping out of the lever.
You must check that the housing end cap is intact. If it is, insert it back into the lever, and it should release it.
Also, check that the brake cable is OK. It may be stretched too much, and braking is impaired, or it may be torn, and you are left without a cable end cap, which can cause the cable to fray. Either way, you can drive home carefully and then fix the problem.
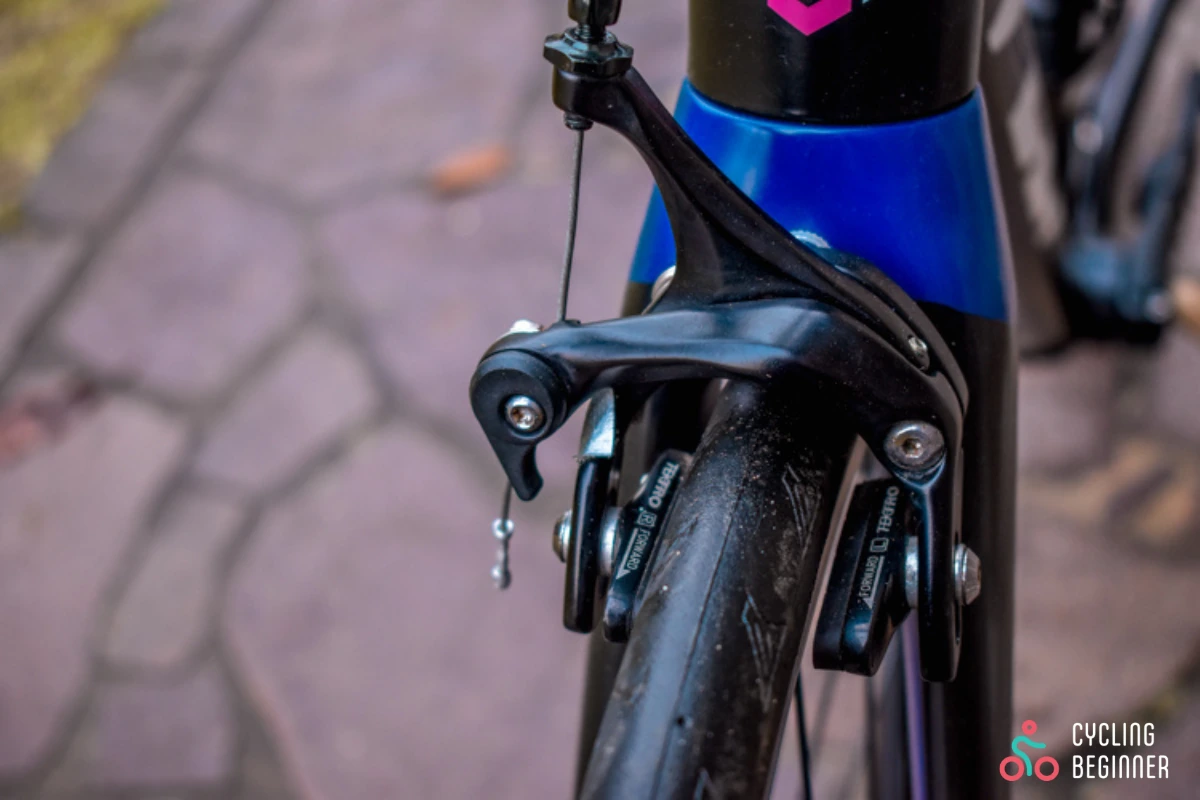
Offset brakes
Rim brakes can suffer in a crash. Like the brake lever and the front wheel, they are among the first to contact the ground. Any serious impact can knock them out of position, causing them to rub against the wheel during the ride.
You need to put them back into the position. Usually, the whole caliper arm is shifted, so you just need to shift it back, and you are good to go. It might be possible to do it just by hand, or you will need an Allen wrench to loosen the screw a bit and then move them back.
Bent disc rotor
With disc brakes, it’s a bit trickier. Most of the time, the brake caliper is fine, and the problem is the rotor. Since it’s more exposed, it can get bent. If it is, there’s not much you can do yourself. You can ride home if it allows you. Then, take it to a bike shop to get the rotor true.
Forks
What to check:
- Are the forks bent?
- Are the forks cracked?
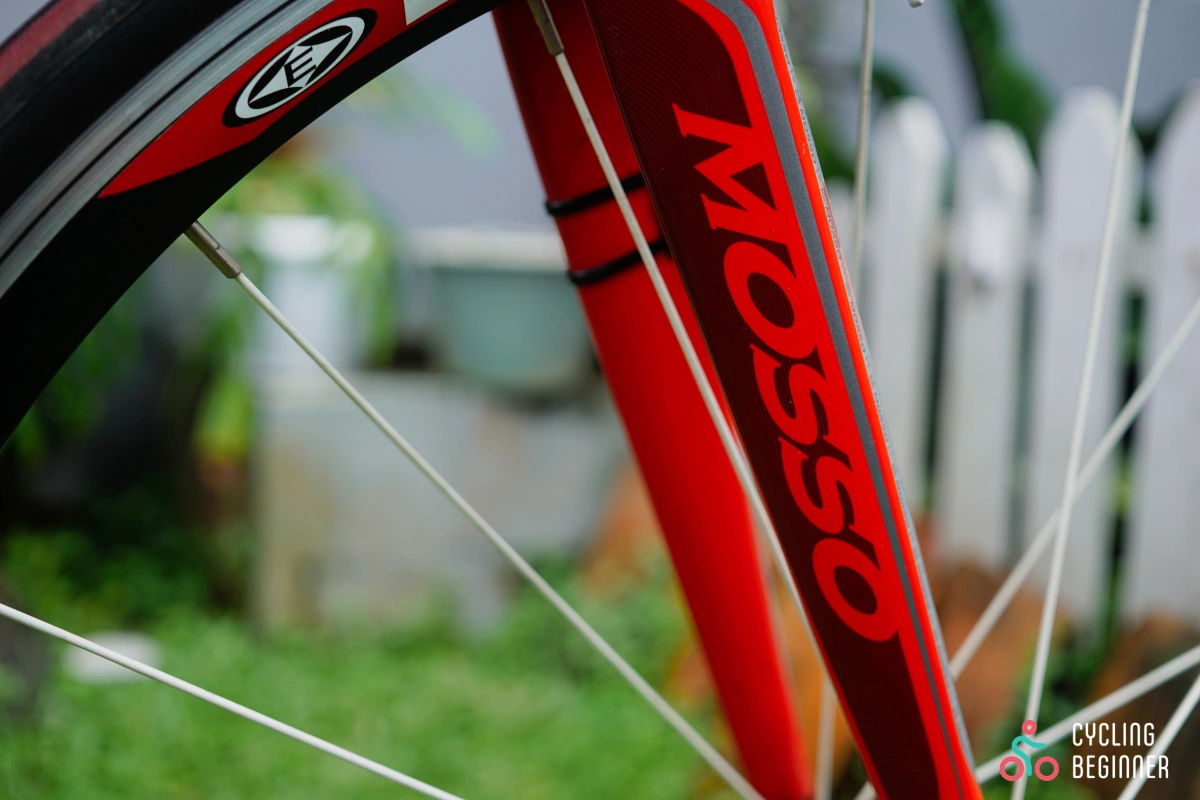
Bent forks
Every front part of the bike will suffer more in the crash. Forks are no different. Nowadays, most forks are made of carbon, making them light and comfortable but also more susceptible to damage.
A bent fork is detected as being moved more toward the frame. This reduces, or in some cases completely eliminates, the distance between the tire and the frame, making steering impossible.
It’s also dangerous because the damage can worsen with further riding, and the fork can break. This can lead to a serious crash and injury. So, it’s advised not to ride further if you think the forks are bent.
A bent fork is difficult to define. Usually, you can tell just by looking at them because you notice that their position is not what you are used to. This is where beginners may have a little more difficulty, so if you are unsure, you take the safe route and stop riding rather than risk further problems.
Cracked forks
A cracked fork is easier to identify than a bent fork, but unfortunately, it also means that it is damaged more severely. Check the forks, and if you see any cracks, your ride is over.
If you find a crack on the forks, especially the carbon ones, you must stop riding and take the bike to the repair shop. Some bike shops can fix carbon forks, making them as good as new. But if you have aluminum forks, I’m afraid you need to get a new one.
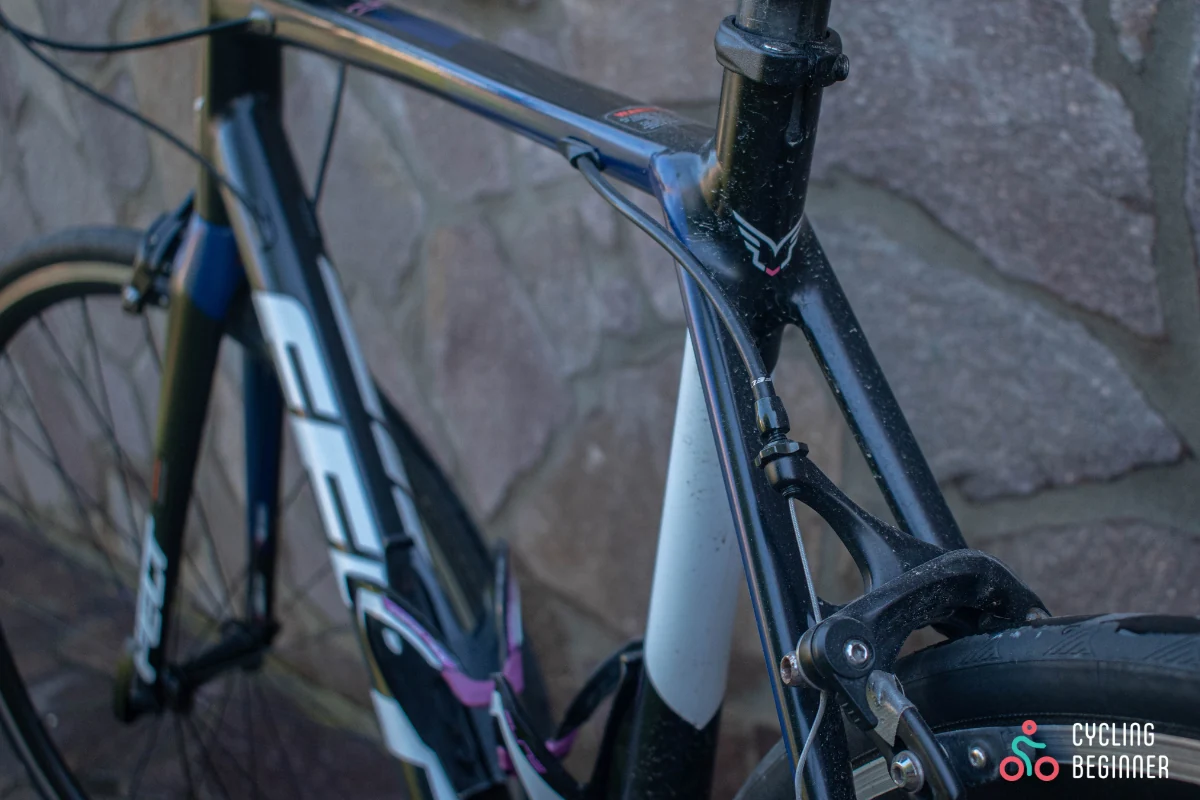
Frame
What to check:
- Is the frame cracked?
- Are there any soft spots in the carbon frame?
Cracked frame
The worst and most expensive crash consequences can appear on the frame. Fortunately, they don’t happen often, but they can make the whole frame unusable when they do.
Check if there are any cracks on the frame. If you have an aluminum frame and find a crack, you need to replace the frame. You can theoretically weld it, but most people won’t do it, as even a slight mistake can make the frame weaker and more susceptible to further damage.
A crack in a carbon frame sounds worse at first, but it’s actually better. The carbon frame can be fixed. Some specialist workshops repair carbon frames and then paint them so meticulously that you don’t even know the repair has been done.
However, further riding is discouraged if you find a crack on a carbon frame. Even a small crack weakens the frame, which can lead to serious damage, both to the frame and the cyclist.
Soft spots on a carbon frame
Sometimes, you don’t know that the frame is cracked as it looks OK. Since frames are covered with a thick layer of paint, damages can be present but not visible. That’s why it’s important you check the frame after the crash, even if you don’t see the crack.
Tap the frame with your finger in different places and listen carefully to the sound. If the sound is muffled instead of ringing in any place, then you have a soft spot on the frame. You can also feel this with your hand.
A soft spot on the frame means the carbon has yielded and is no longer firm. It no longer does its job as it should and behaves in the same way as if the frame were cracked.
You should treat it the same way, stop riding as soon as possible, and take the bike in for repair. Otherwise, it is only a matter of time before the crack really appears and causes major damage.
Seat and seatpost

What to check:
- Is the seat shifted?
- Is the seat broken?
- Is the seatpost cracked?
Shifted seat
If you come out of the crash with a shifted seat, you are in luck. It’s barely treated as damage, and it can be fixed in a matter of seconds. Take the Allen wrench, loosen the seatpost and realign it, then tighten the bolt and the problem is solved.
Broken seat
I think you will quickly realize that you have a broken seat. It will be given away first and foremost by the fact that you have nowhere to sit.
A broken seat sucks, as it’s near impossible to ride home with it. However, it’s easy and cheap to replace it. A new seat can cost you as little as $30, but I recommend buying something more quality, such as Selle Italia Novus Superflow.
Cracked seatpost
The seatposts are aluminum or carbon. They can crack, the same rules apply as with frame.
If the aluminum seatpost is cracked, throw it away and buy a new one. Luckily, they are quite cheap.
Carbon seatposts are more expensive but can be repaired. However, the repair can cost you more than the new seatpost in some cases, so choose wisely.
One thing to remember — never ride with a cracked seatpost. It can break, and a piece of carbon can get stuck in your leg or bottom, causing a wound that needs stitching.
Pedals
What to check:
- Can you clip in?
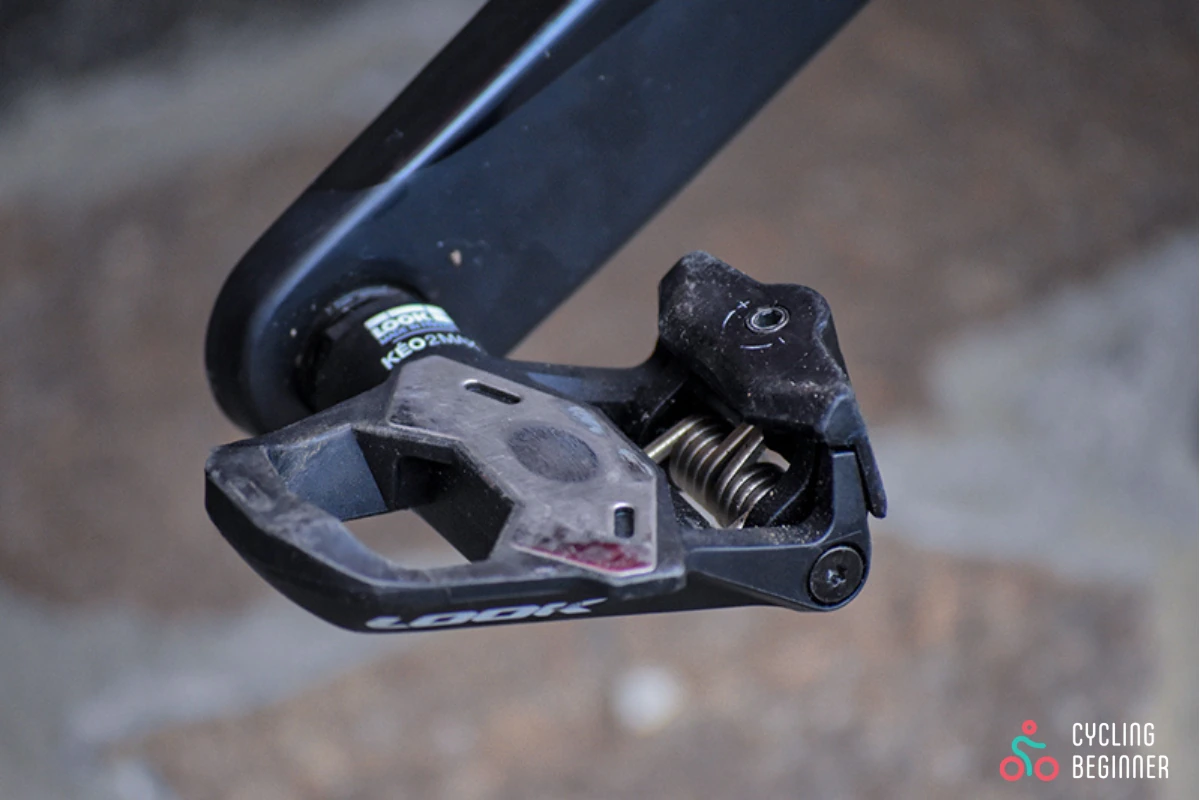
Clipping in
Pedals usually suffer cosmetic wounds in crashes, as paint chips off or the asphalt leaves a shallow gash. In any case, nothing serious.
Rarely pedals can be more damaged. Primarily, this means that the clip gets damaged, so you can no longer clip in. You may be able to straighten the clip with a screwdriver and get the pedal working again. Otherwise, you will need to buy new pedals.
Drivetrain
What to check:
- Is the rear derailleur misaligned?
- Can you shift normally?
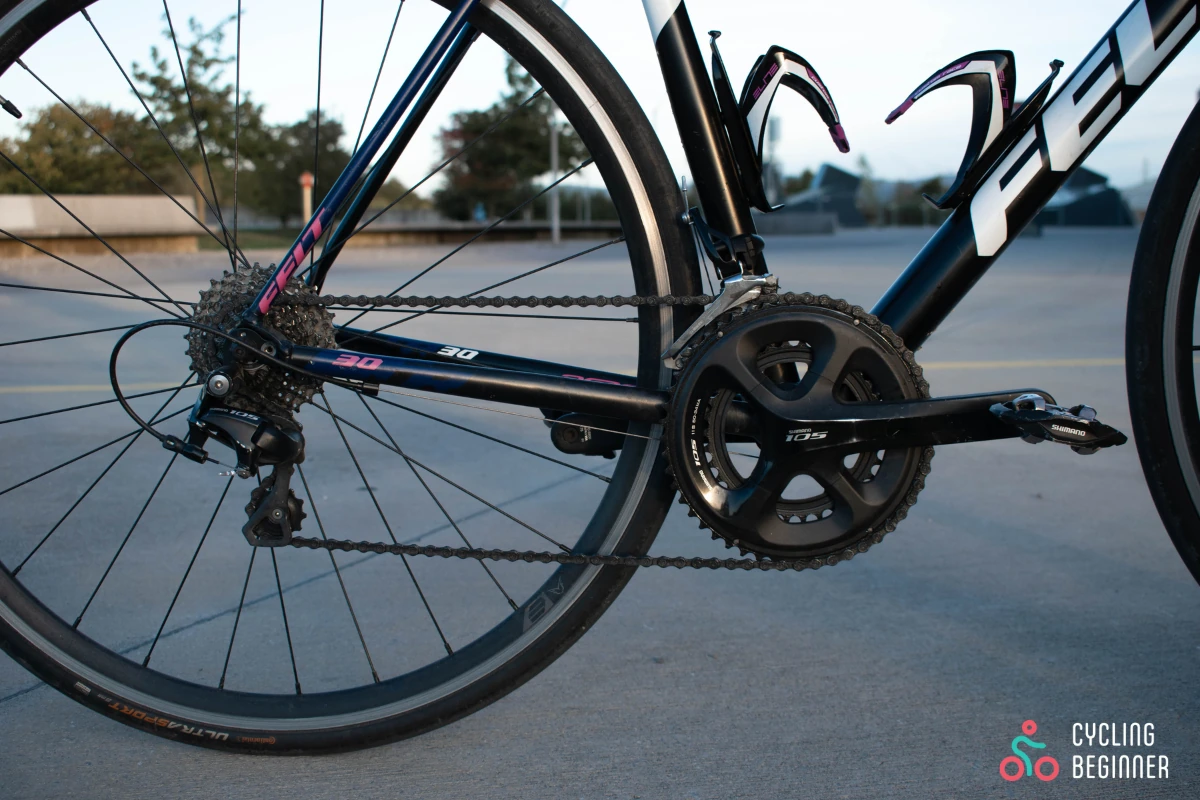
Misaligned rear derailleur
In almost any crash where you land on your right side, the rear derailleur will suffer slight damage. This will result in poorer shifting or even jumping gears.
In most cases, the problem is a bent hanger. It is a small metal piece connecting the derailleur to the frame. Because it is relatively thin, it can quickly become bent.
You can spot a bent hanger with the naked eye, as the derailleur is no longer aligned with the cassette cogs and pulls the chain at the wrong angle. It will be difficult to repair it manually, as you need special tools, so I advise taking it to a repair shop.
Shifting
A faulty drivetrain is manifested through the inability to shift gears normally. You can expect gears to skip or the chain to stay on the same sprocket when you shift. Don’t worry, indexing the gears again will quickly fix the problem.
Until this is fixed, avoid riding in the highest or the lowest gear. Keep the chain in the middle gears and head home as soon as possible.
I would also advise you to avoid serious climbs, as riding uphill with non-functioning gears is much more agonizing than normal.
Other gear
What to check:
- Helmet
- Shoes
- Jersey
- Bottle
- Saddle bag
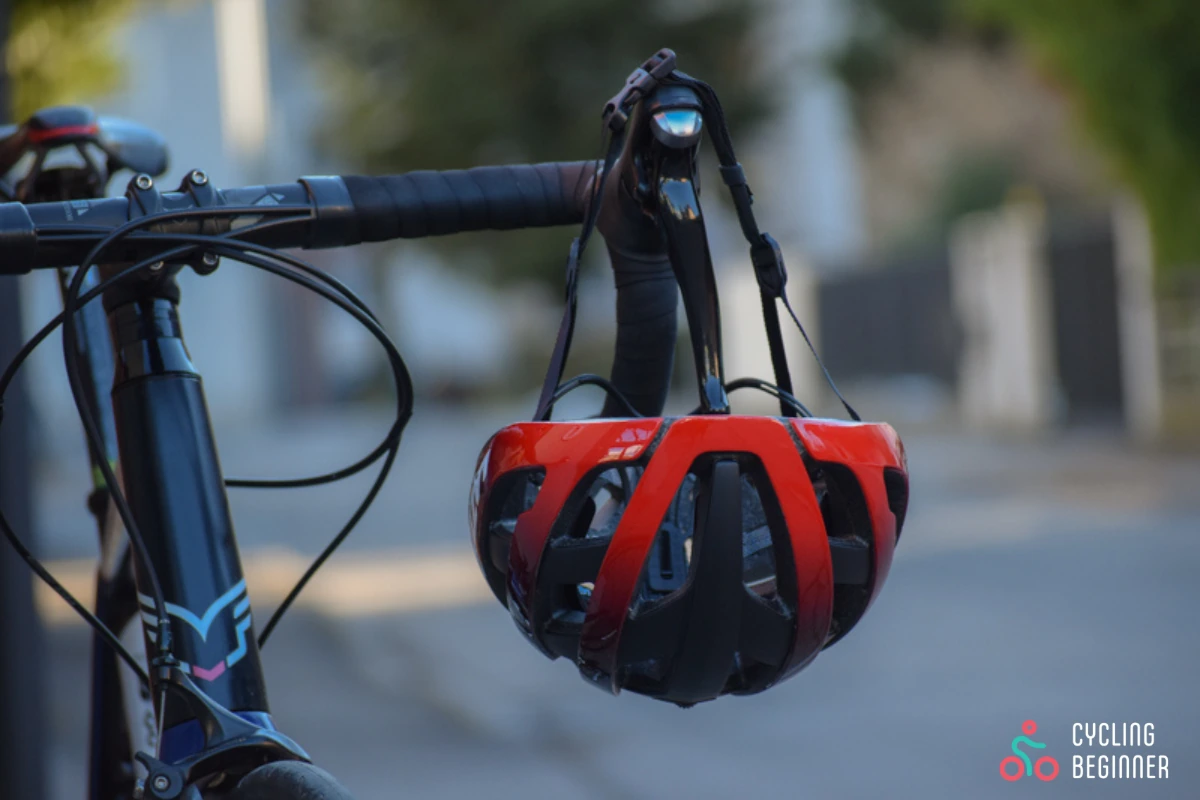
Last but not least. Check all the other gear and equipment you have.
- Check if your helmet is intact and can protect you in another crash.
- Check that your shoes are in good condition and still fit your foot snugly and allow normal pedaling.
- Check the jersey for any tears, especially in the back pockets, and if anything may have fallen out.
- Check if your bottle has fallen out of the bottle cage.
- Check if your saddle bag has fallen off.
Once you’ve checked all the individual parts of the bike, find a traffic-free area and do a low-speed ride to double-check that everything is working as it should. If the answer is yes, then enjoy the ride and try to forget about the crash as soon as possible.
