A broken spoke can ruin a cyclist’s day, especially if it breaks while riding far from home.
Fortunately, by following the right steps, you can still ride home with a broken spoke, but you need to replace it as soon as possible, particularly if you use wheels with fewer spokes. This is the only way to avoid further problems.
The easiest way to fix the problem is to have a bike mechanic replace the spoke, but he or she will charge you a few tens of dollars for a relatively simple task. Therefore, it makes sense to do it yourself, as it is one of the easiest repairs on a bicycle.
It is important to familiarize yourself with the process before you start and to be aware of certain details when removing the broken spoke. This way, you can prevent getting stuck at the point of no return during the replacement process.
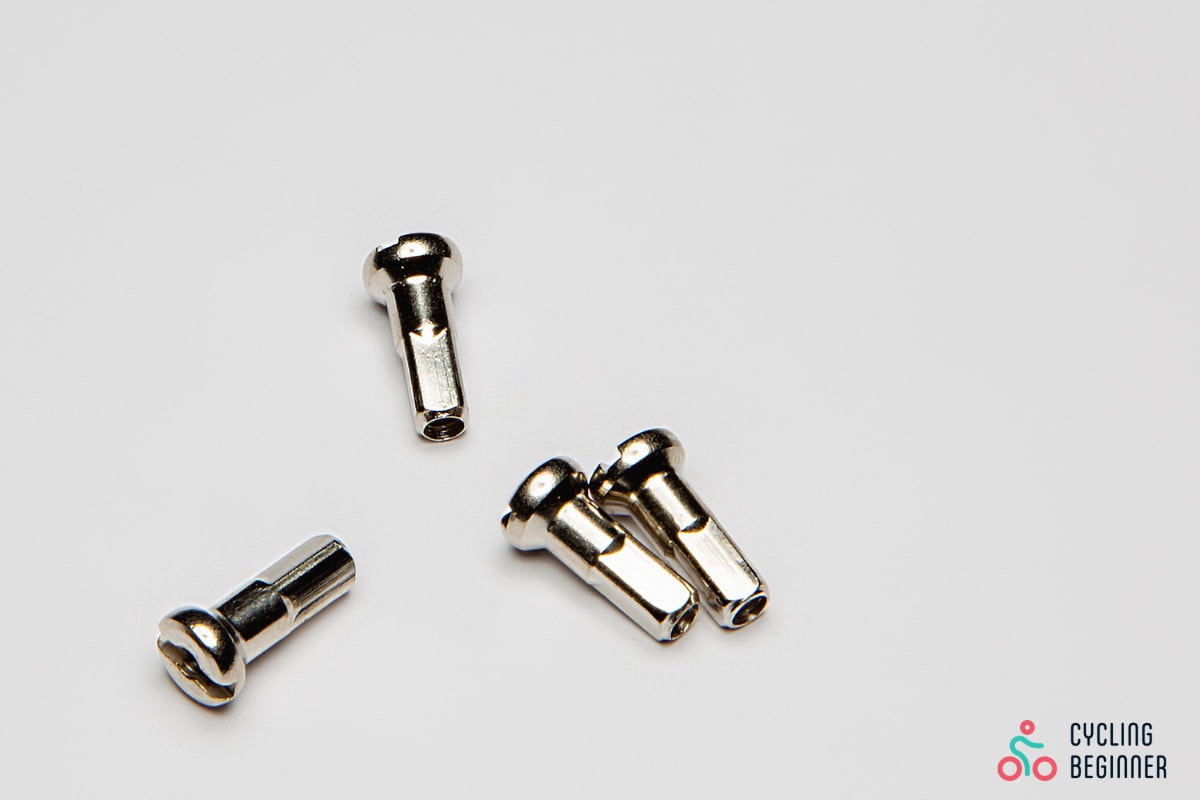
Tools you need to replace a spoke
Replacing a spoke does not require a lot of tools, but you will still need to buy some purpose-specific equipment. But hey, investing a few tens of dollars now will save you money in the long run.
For a spoke replacement, you’ll need the following:
*If replacing of original is necessary
**Only in case of tire removal
5 easy steps to replace a spoke:
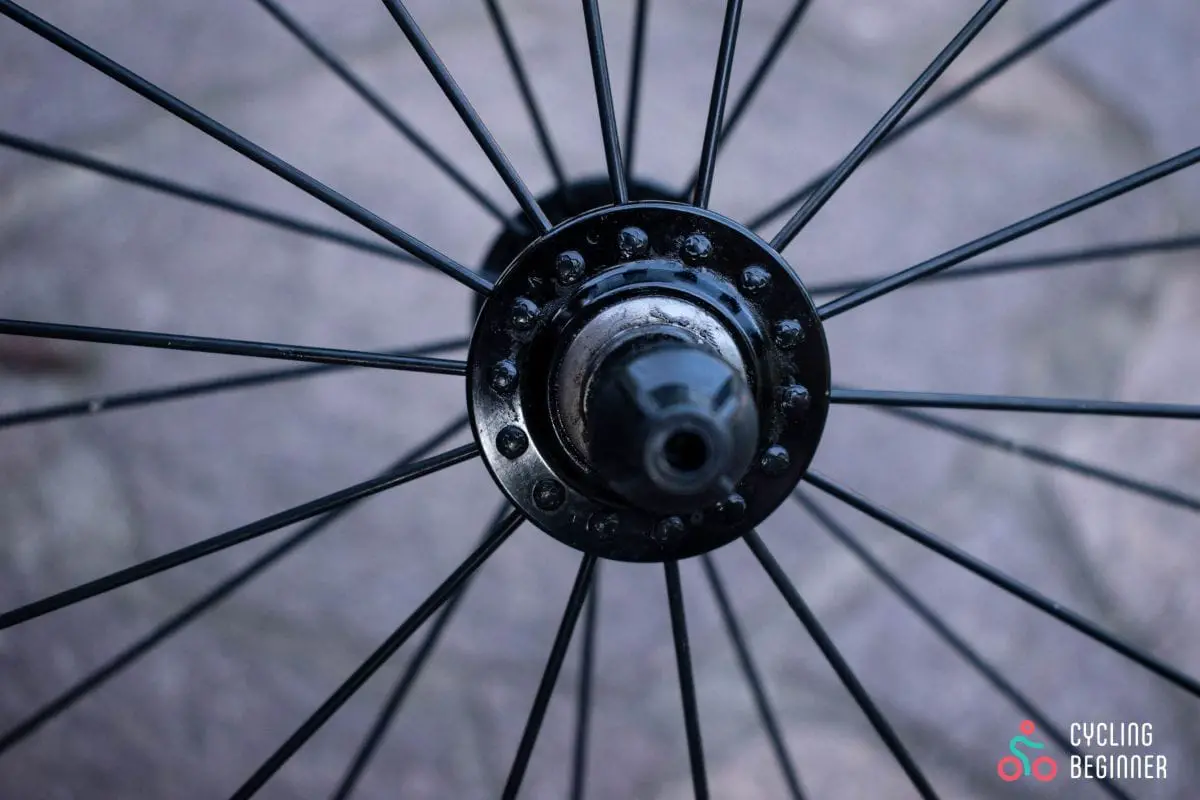
1. Inspect the lacing of the broken spoke
Before removing the broken spoke, inspect how it was laced. The new spoke will need to be laced in the exact same way.
PRO TIP: Take a picture of the broken spoke to help you remember how it was laced.
Pay attention to:
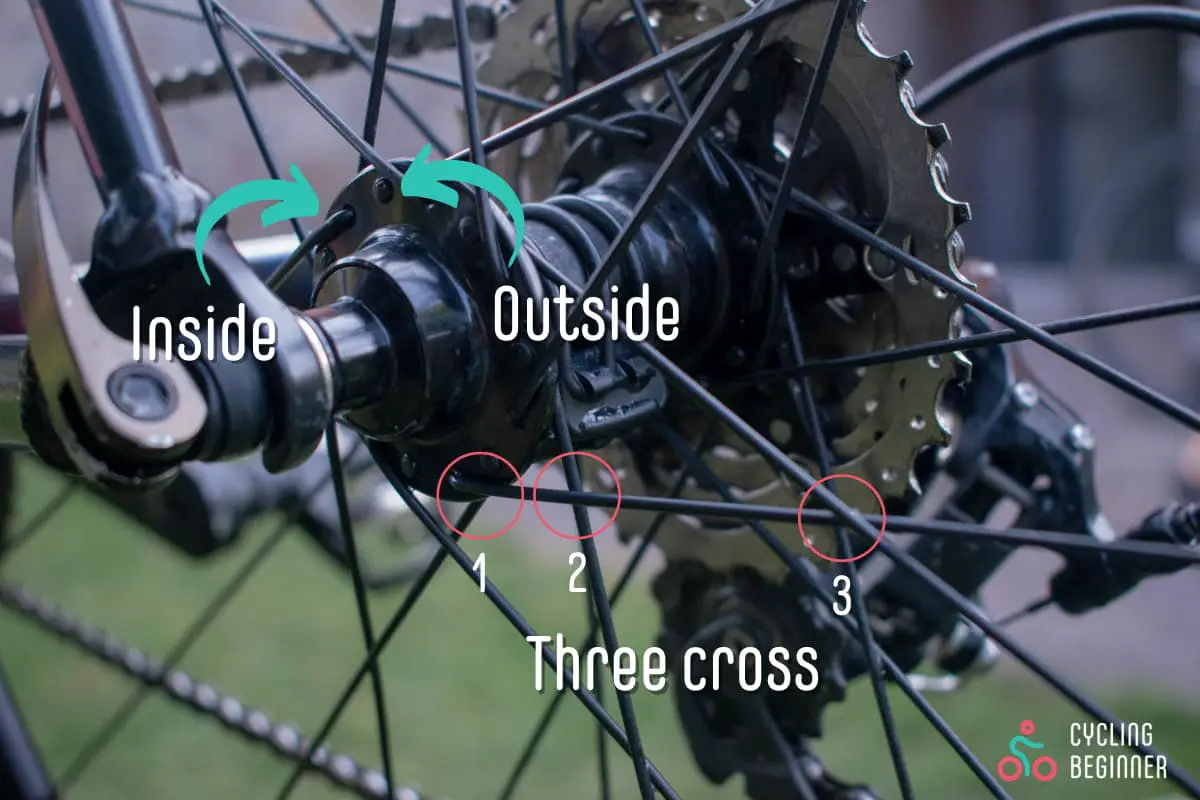
- Insertion direction. Inspect if the spoke was inserted into the hub from the inside or outside.
- The number of crossings. Check how many times the broken spoke crosses other spokes (once, twice, or three times), if this is still possible to check after the break. If not, determine this from the lacing of other spokes. Pay attention to which side (inner or outer) the spoke crosses the other spokes.
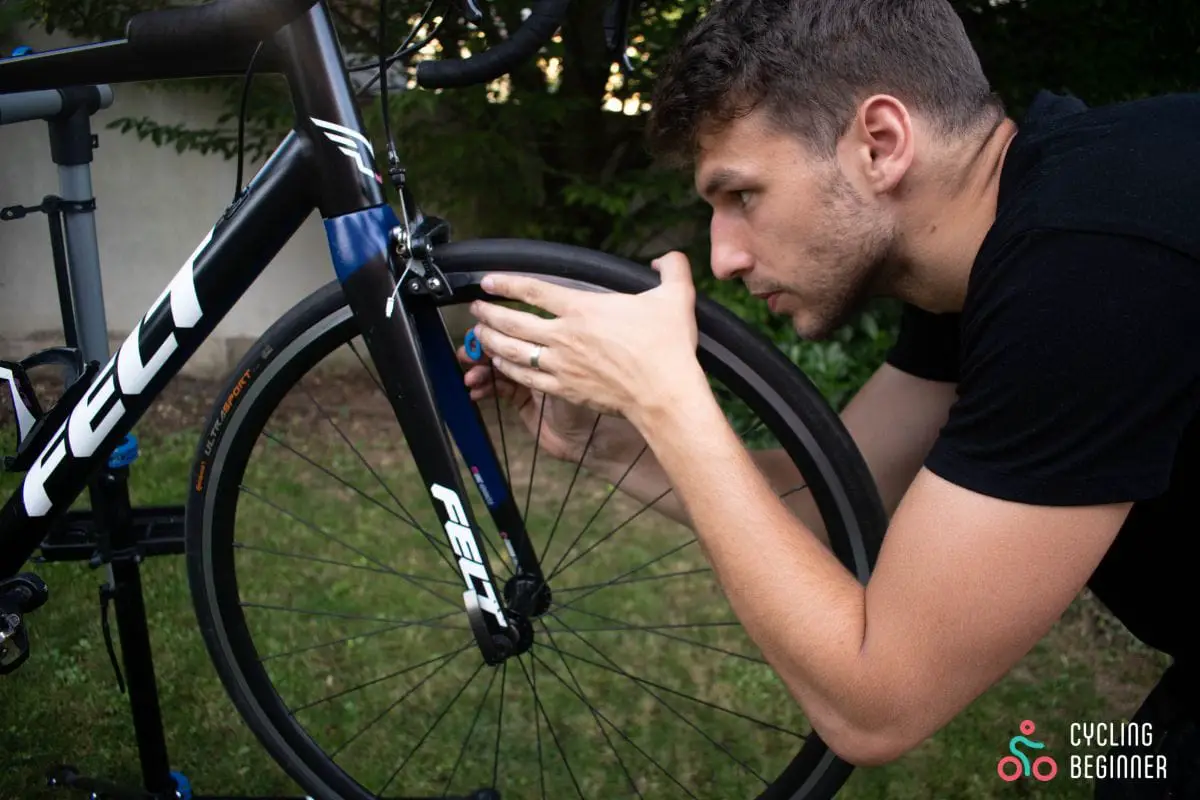
2. Remove the broken spoke
You can remove the broken spoke without removing the tire, but this can be tricky in certain cases (where the spoke is seized with a nipple). I suggest you try to remove the spoke with the tire still in place and remove it only if necessary.
Removing the spoke without tire removal:
- Unscrew the broken spoke from the nipple
- Unthread the bottom part of the spoke
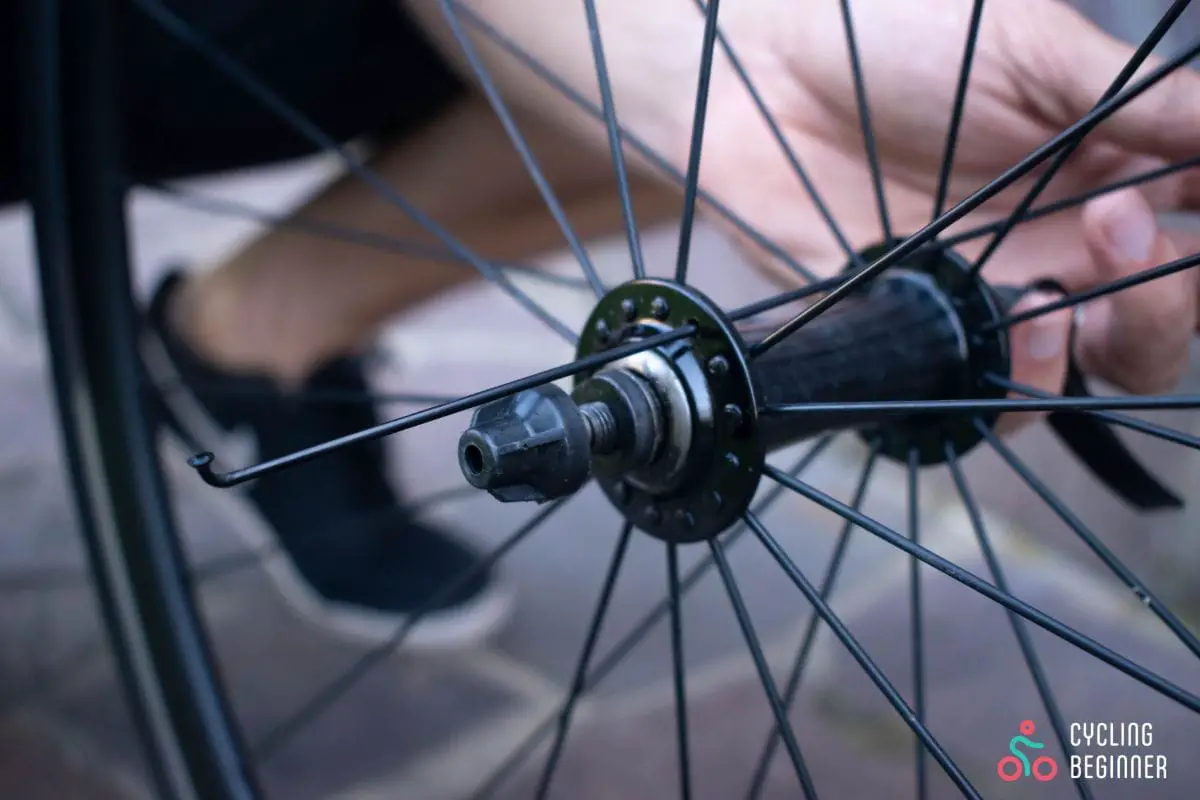
- Push the spoke out of the hub (pay attention to which side it is threaded)
Removing the spoke with tire removal:
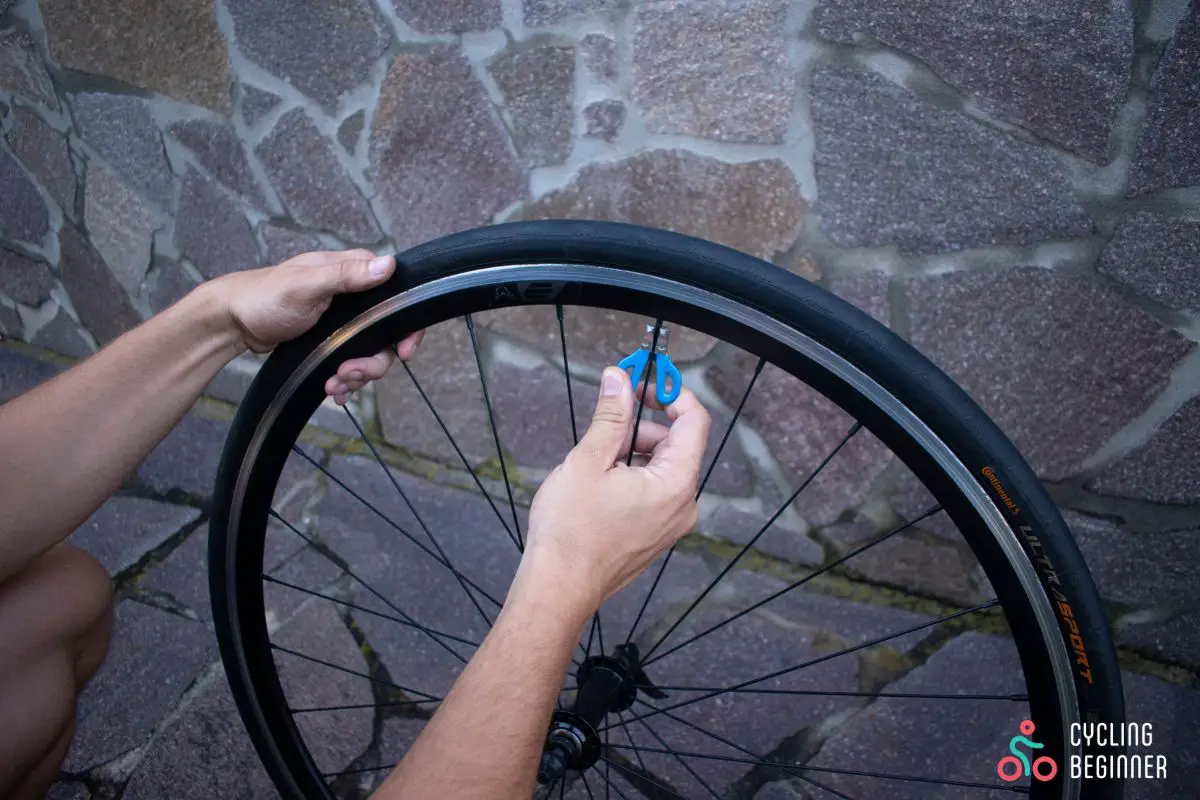
- Use a tire lever to remove the tire and inner tube

- Remove the broken spoke together with the nipple from the wheel
- Unthread the bottom part of the spoke
- Push the spoke out of the hub (pay attention to which side it is threaded)
WARNING: In case of disc brakes or replacing a spoke on the side of the cassette, these will need to be removed beforehand.
3. Lace in the new spoke
After removing the broken spoke, it’s time to install a new one.
- Thread the spoke with the narrower part first into the hub from the same side as the broken spoke (inner or outer)
- Pull the spoke all the way through so the wider part gets stuck in the hub.
- Lace the spoke with the other spokes in accordance with the lacing pattern of the wheel (you checked it at the beginning). Make sure to cross it with the other spokes from the correct side (inner or outer).
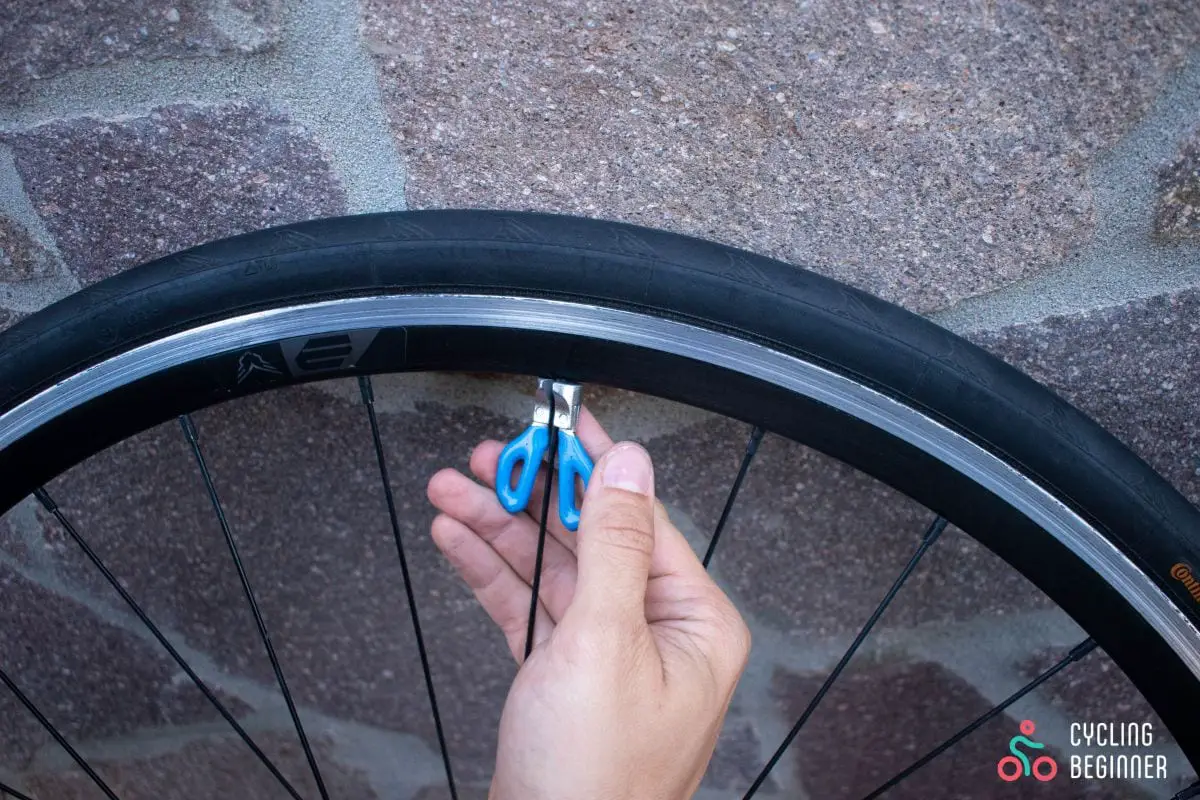
4. Winding the new spoke into the nipple
The laced spoke needs to be screwed into the nipple, thus connecting the hub with the rim, which ensures its strength.
Winding the new spoke into the nipple without removing the tire
- Insert the upper part of the spoke into the nipple
- Rotate the nipple a few times by hand a few times so that it starts to wind onto the spoke
- Taka a spoke wrench and rotate the nipple until the spoke is straight but not fully tensioned
Winding the new spoke into the nipple with tire removal:
- Insert the nipple into the rim
- Insert the spoke into the nipple
- Rotate the nipple from the top with a flat screwdriver, winding it onto the spoke so that it becomes straight but not fully tensioned
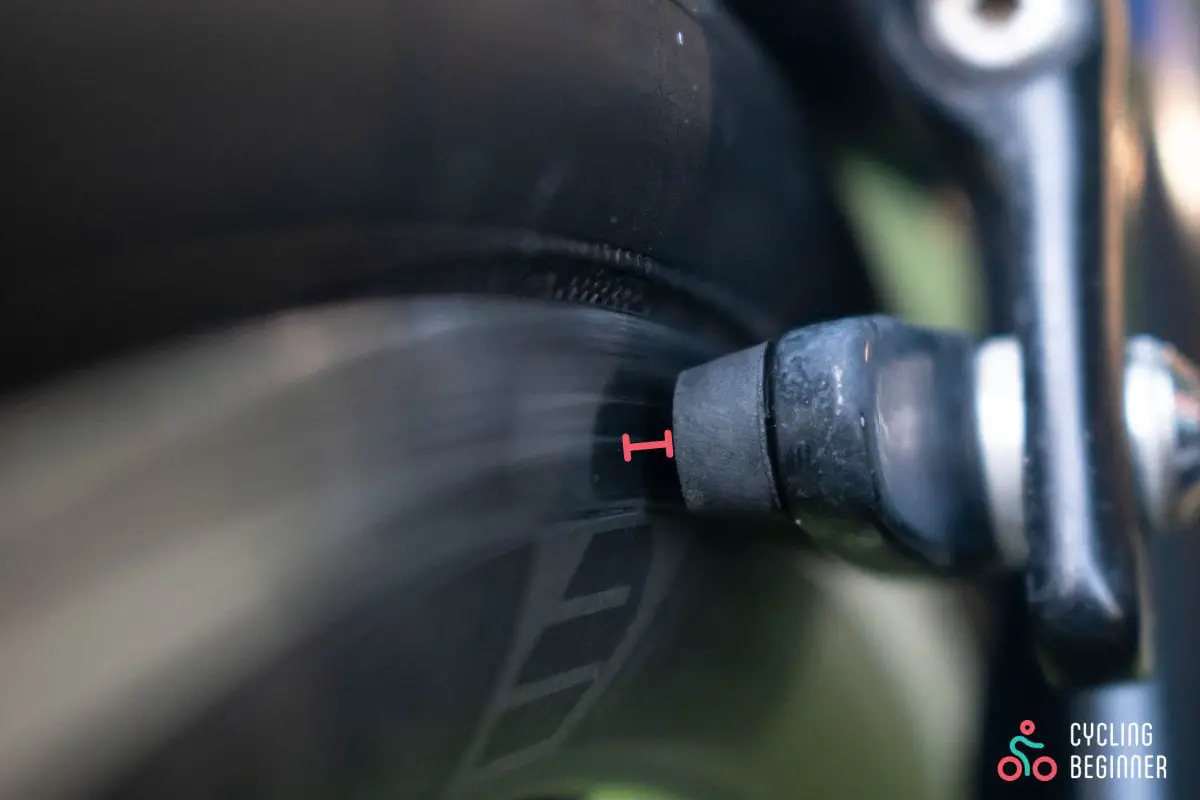
5. Tightening the spoke and truing the wheel
When a spoke breaks, especially if you have a wheel with a low number of spokes, it can get untrue.
By tightening the spoke, you need to true the wheel so that it does not rub against certain parts of the bike, especially the brake pads.
I assume you don’t have a truing stand at home, so you can use the brake pads to help determine its trueness.
- Slowly rotate the wheel and observe its trueness. You want it to be evenly distant from both brake pads at all times. The distance is likely to change at the point where you have fitted the new spoke.
- Rotate the nipple with the spoke wrench in small turns and slowly tighten the spoke. You will notice that by tightening, you are pulling the wheel in the direction in which the spoke is threaded in the hub.
- Do this until the wheel is true
Wheel truing is a rather precise process that requires a lot of patience. Be gentle when tightening and rotate the nipple a quarter turn at a time, constantly checking the trueness.
If you tighten the spoke too much, loosen it by rotating it in the opposite direction, thus moving the wheel in the opposite direction to which it is threaded in the hub.
When you no longer notice the obvious “dancing” of the wheel while rotating it, your wheel is properly trued and ready for a ride.
Congratulations, you have just replaced a spoke yourself!
